With how far automotive technology has come in recent years, there is no reason why older platforms with outdated electronics can’t be brought into the 21st century. Here we will be installing a Racepak IQ3 Digital Dash and Data Logger into a '93 Honda Civic Si. While it is not needed for the install, if you have a Hondata S300 V3 in the car, you will be able to see and log all information that streams through the ECU through a single wire.
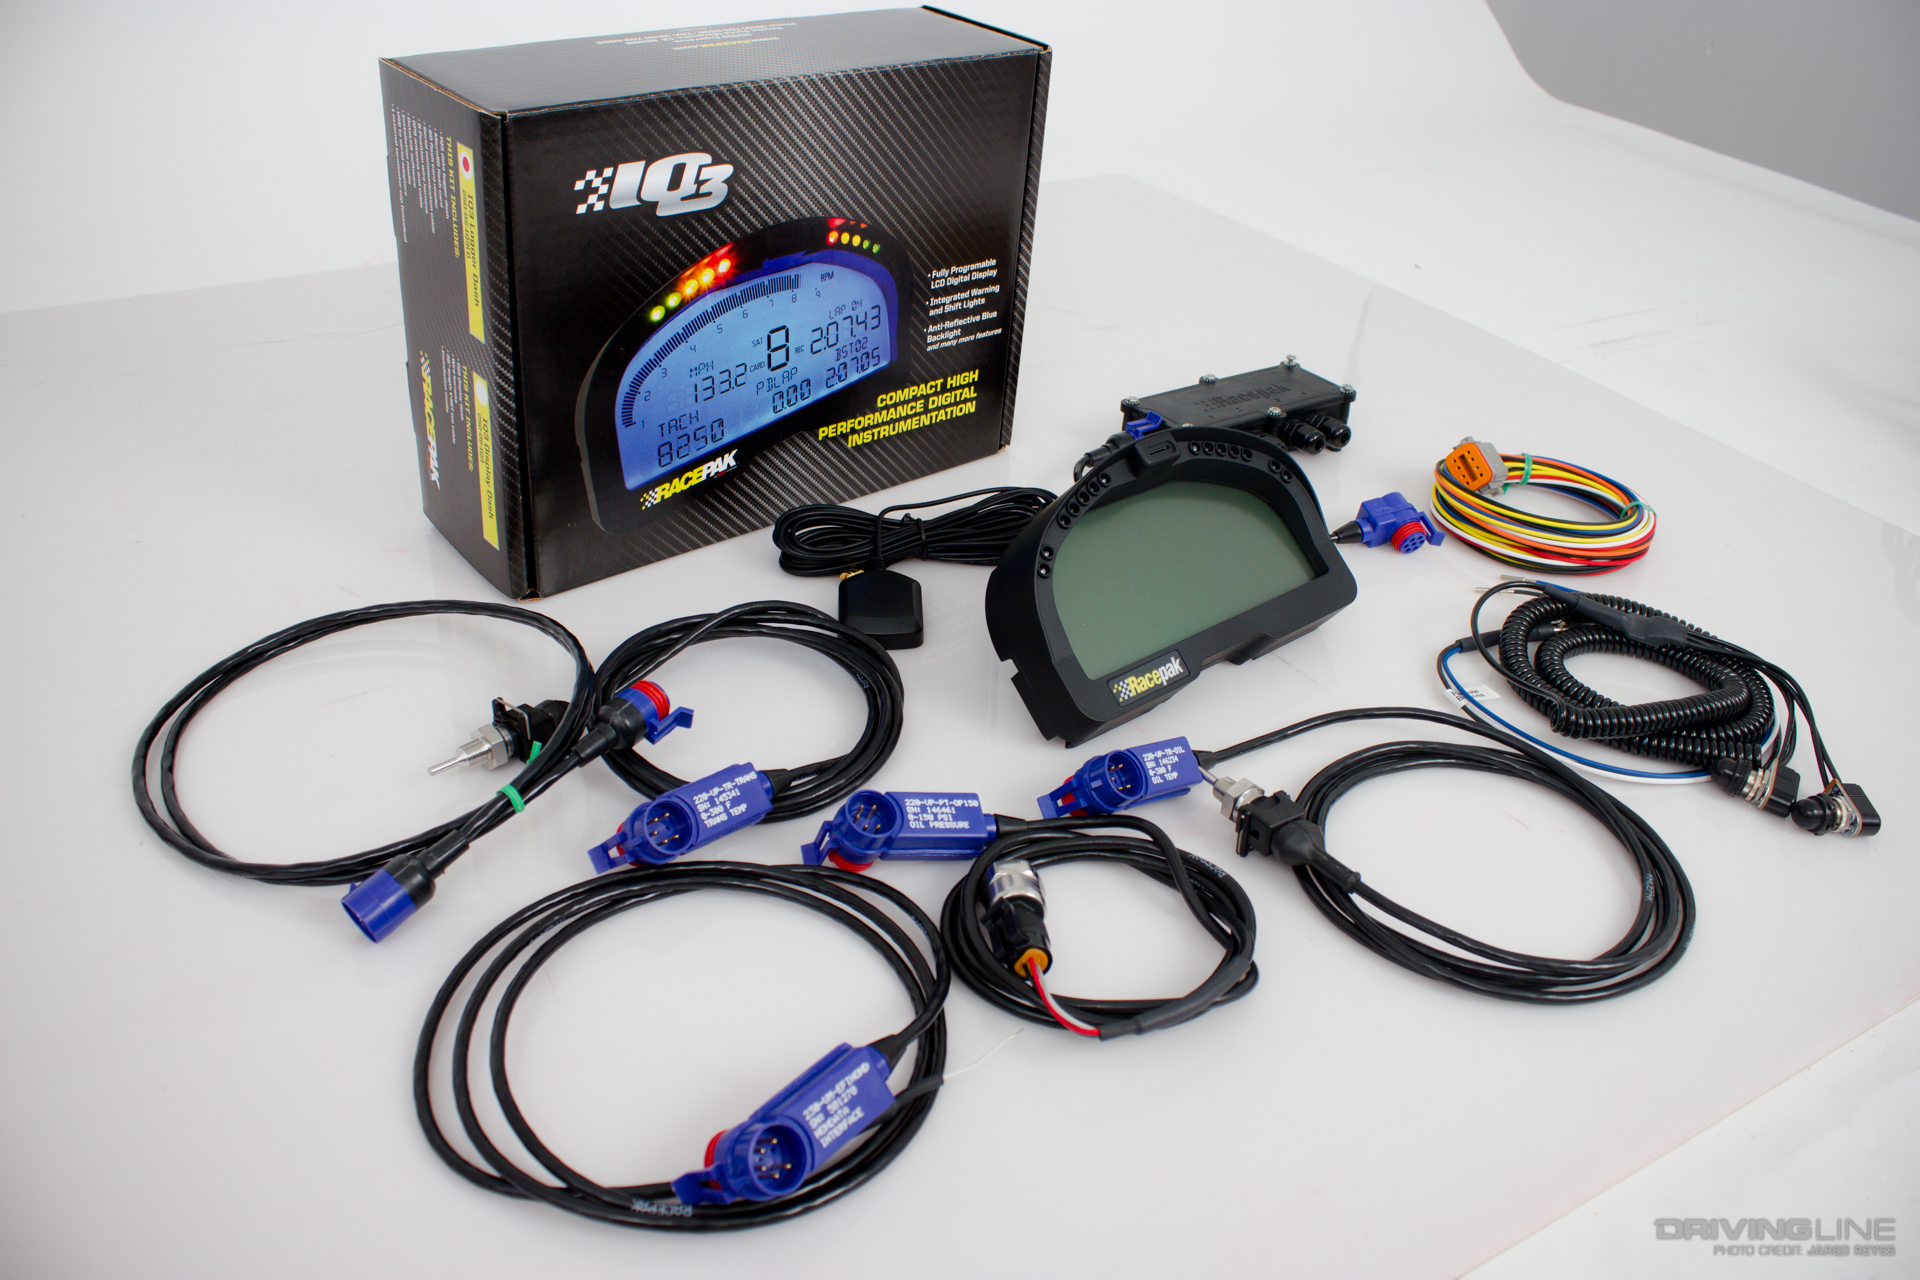
Know the IQ3
The Racepak IQ3 is available in two different versions: Display Dash or Logger Dash. For a road race car, you know we had to go with the best. The Logger Dash is able to display information from the ECU/external sensors, log data such as lap times, and it includes an external memory card slot.
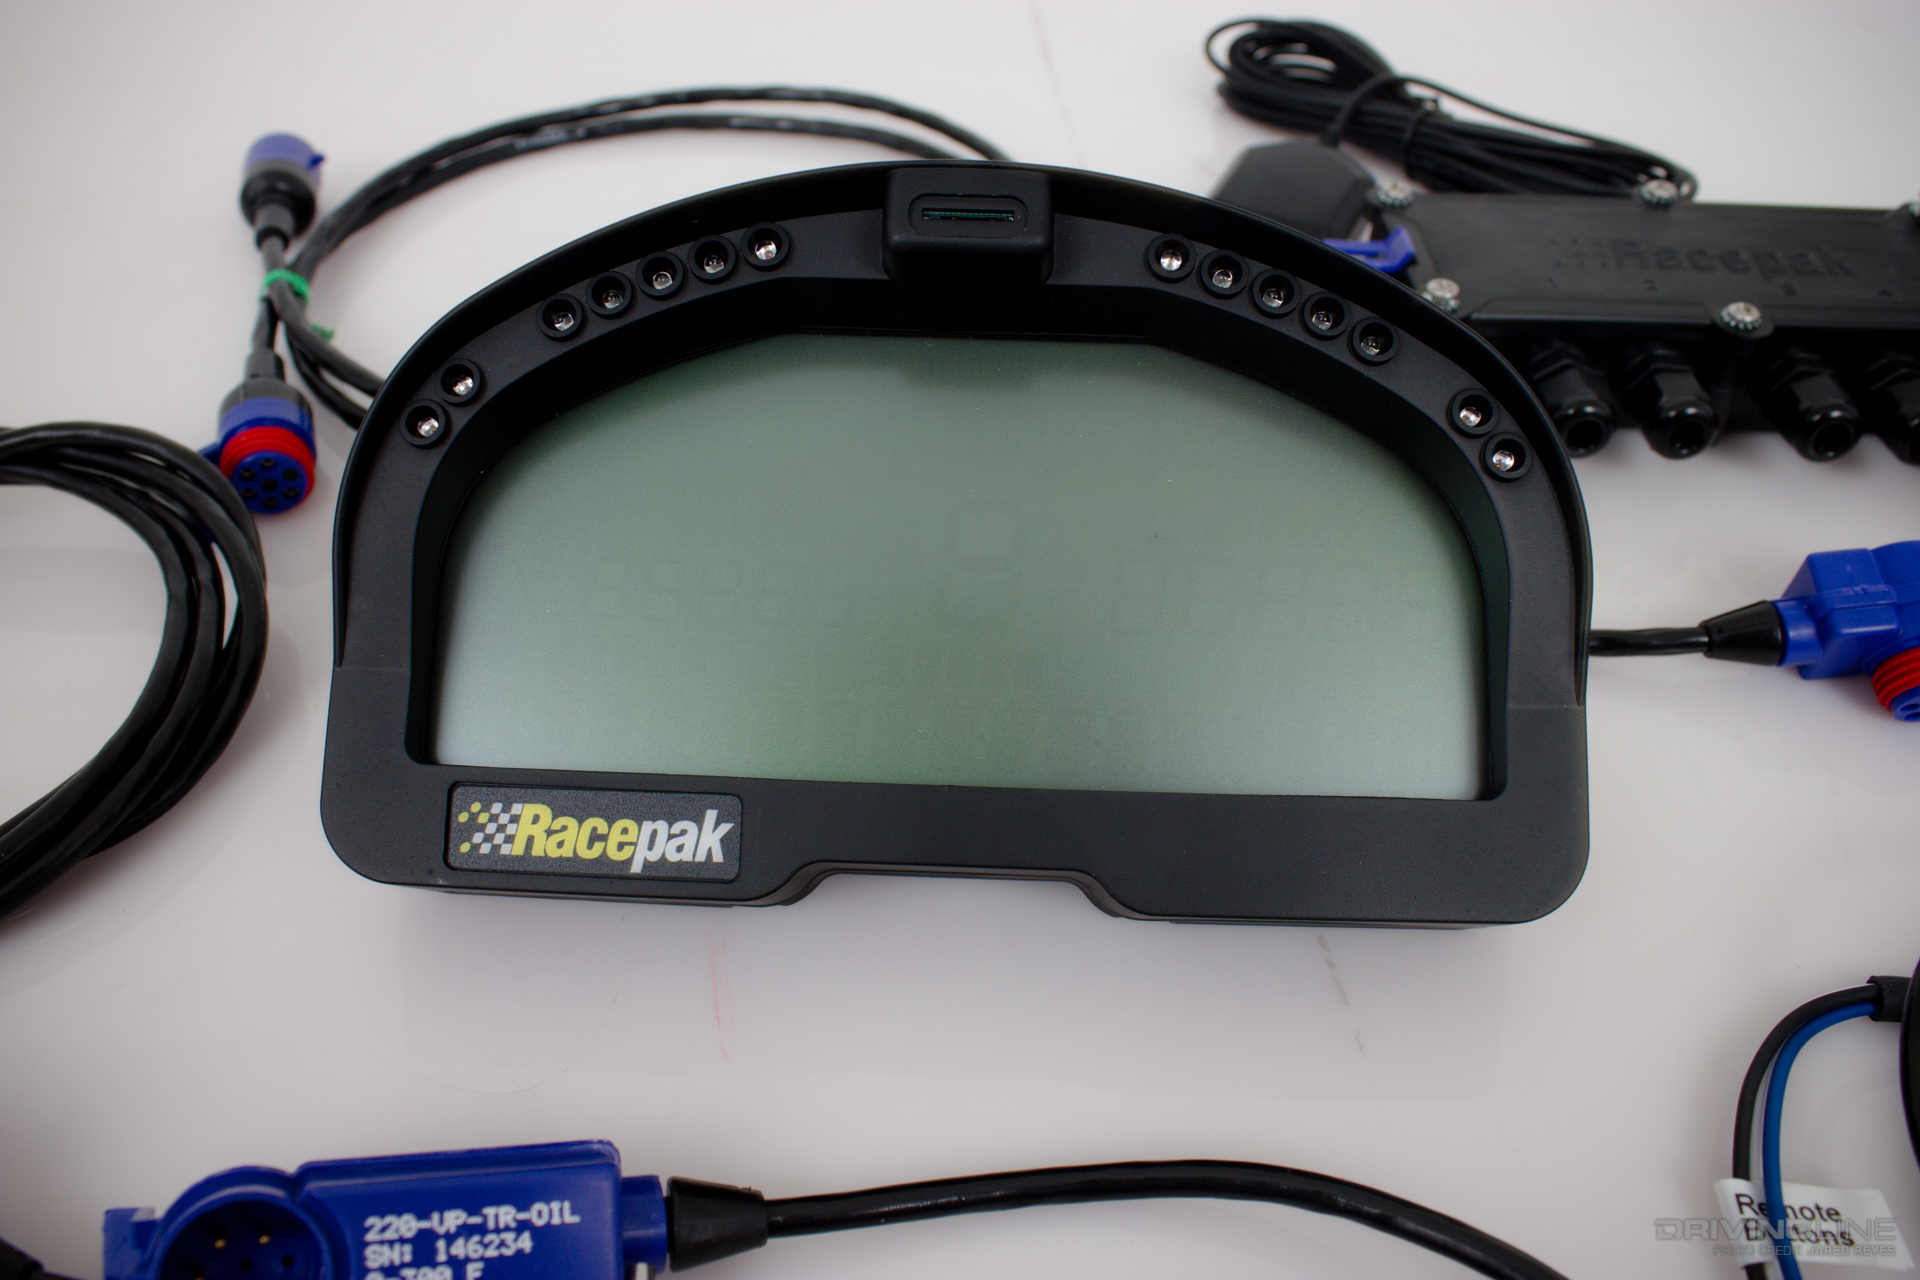
The dash has up to four screens that you can configure however you’d like. There are also progressive shift lights and four warning lights that you can set up to any of the readings coming through the dash. An external button will allow you to toggle through each screen. This is perfect to eliminate the need for multiple gauges on the dash.

Get Connected
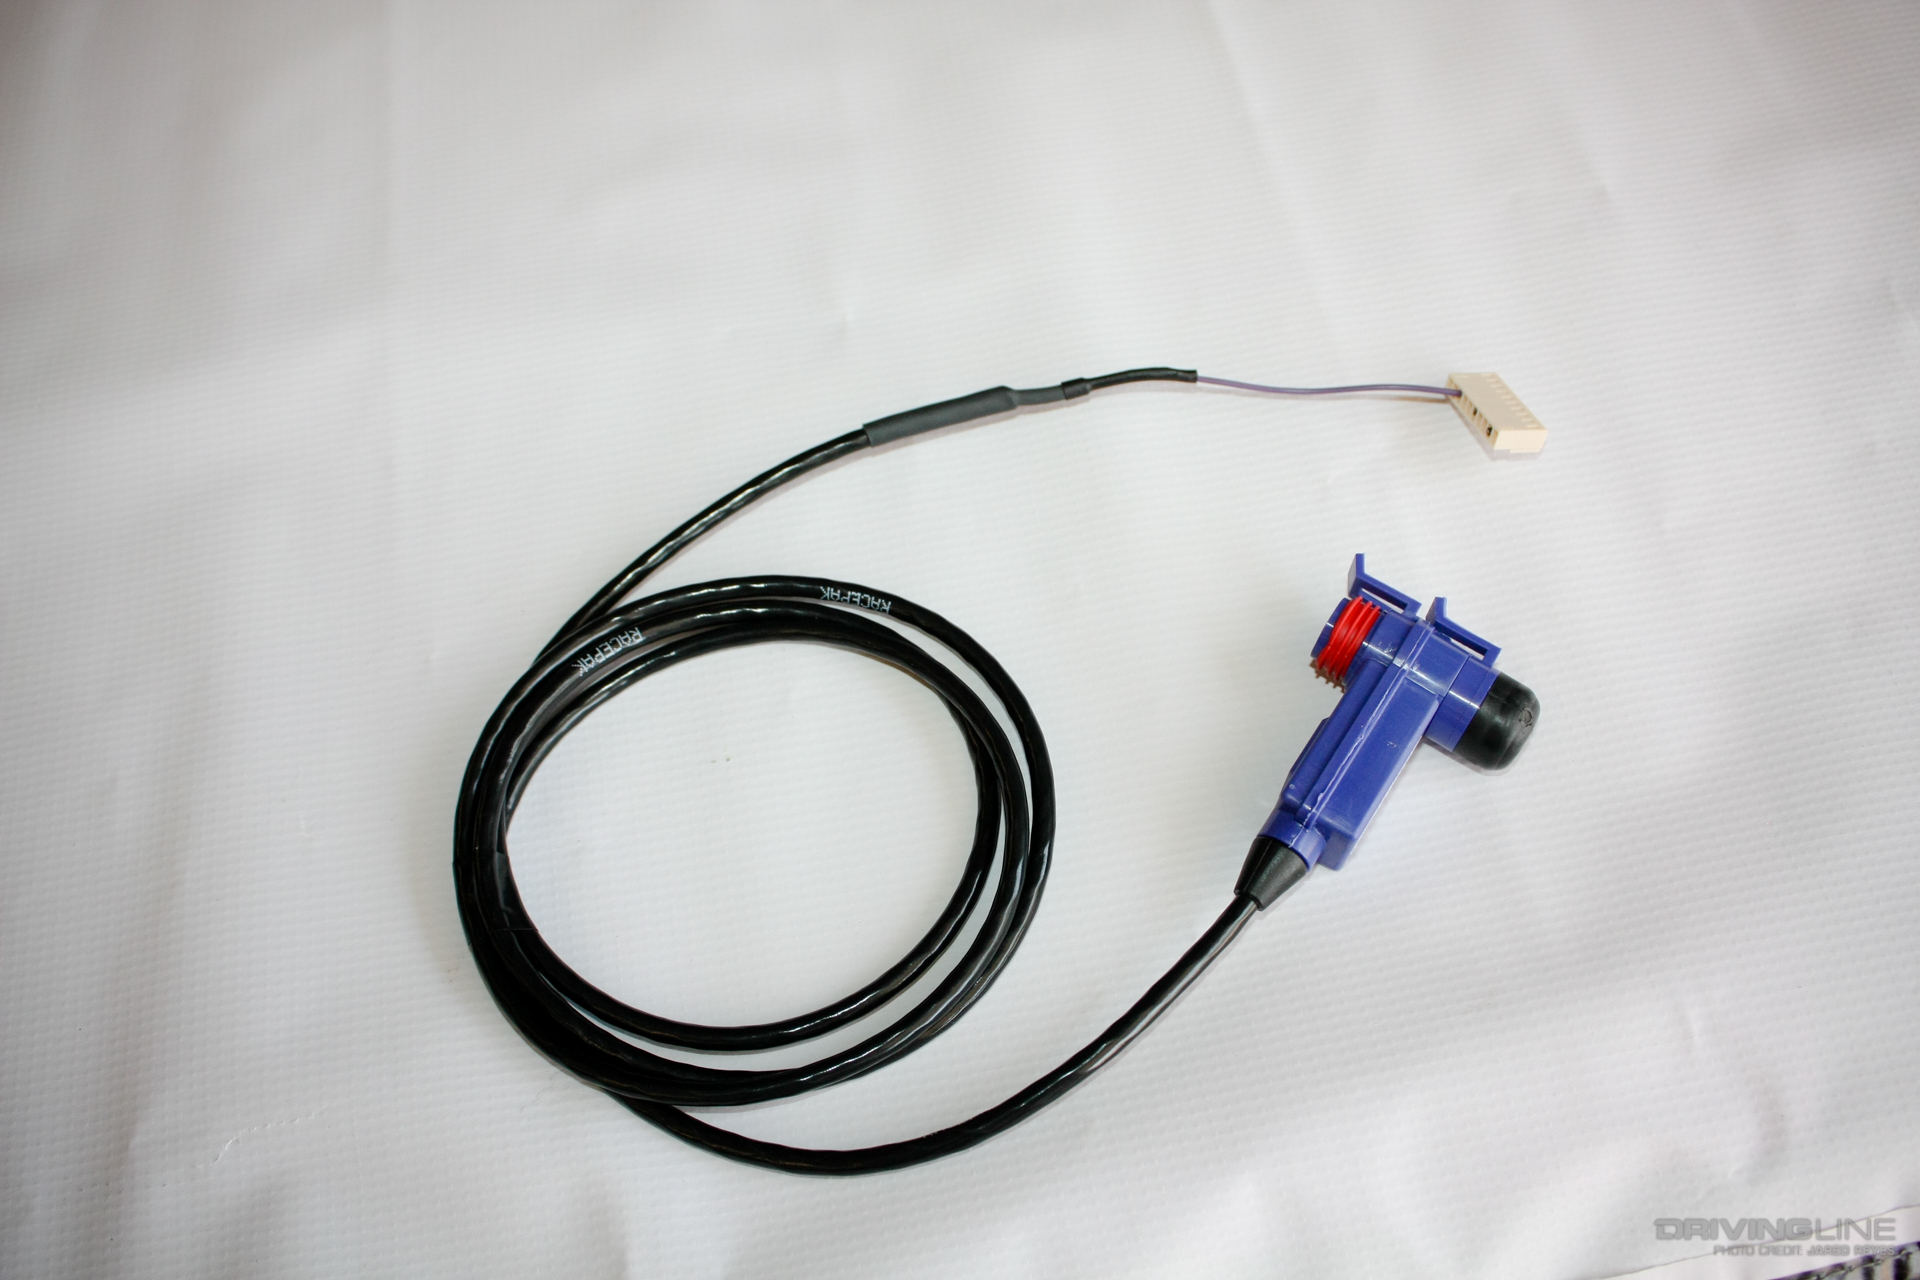
Racepak's proprietary V-net connectors allow you to connect all sensors to each other, with only one plug going to the dash, making the installation of sensors a simple, clean process. If you are using Racepak sensors with the V-net module, the IQ3 Dash will automatically recognize what type of sensor you have once connected. It's so easy!
Mount Up
We recommend starting the installation with where you are going to mount to dash. Keep in mind you will need to access the rear of the dash later on for configuring the screens.

We choose a column mount to bring the dash closer to the driver and allow for easy access to both the rear of the dash and memory card slot on the front. Once mounted, the dash only needs a 12V power and ground. All engine information will be read through the V-net harness connected to the ECU.

Installation
THROUGH THE WIRE
Once the dash is mounted, we can begin routing the wires. Since the dash is being directly connected to the Hondata S300 ECU, we were able to remove the tach signal and external warning light from the main power harness.
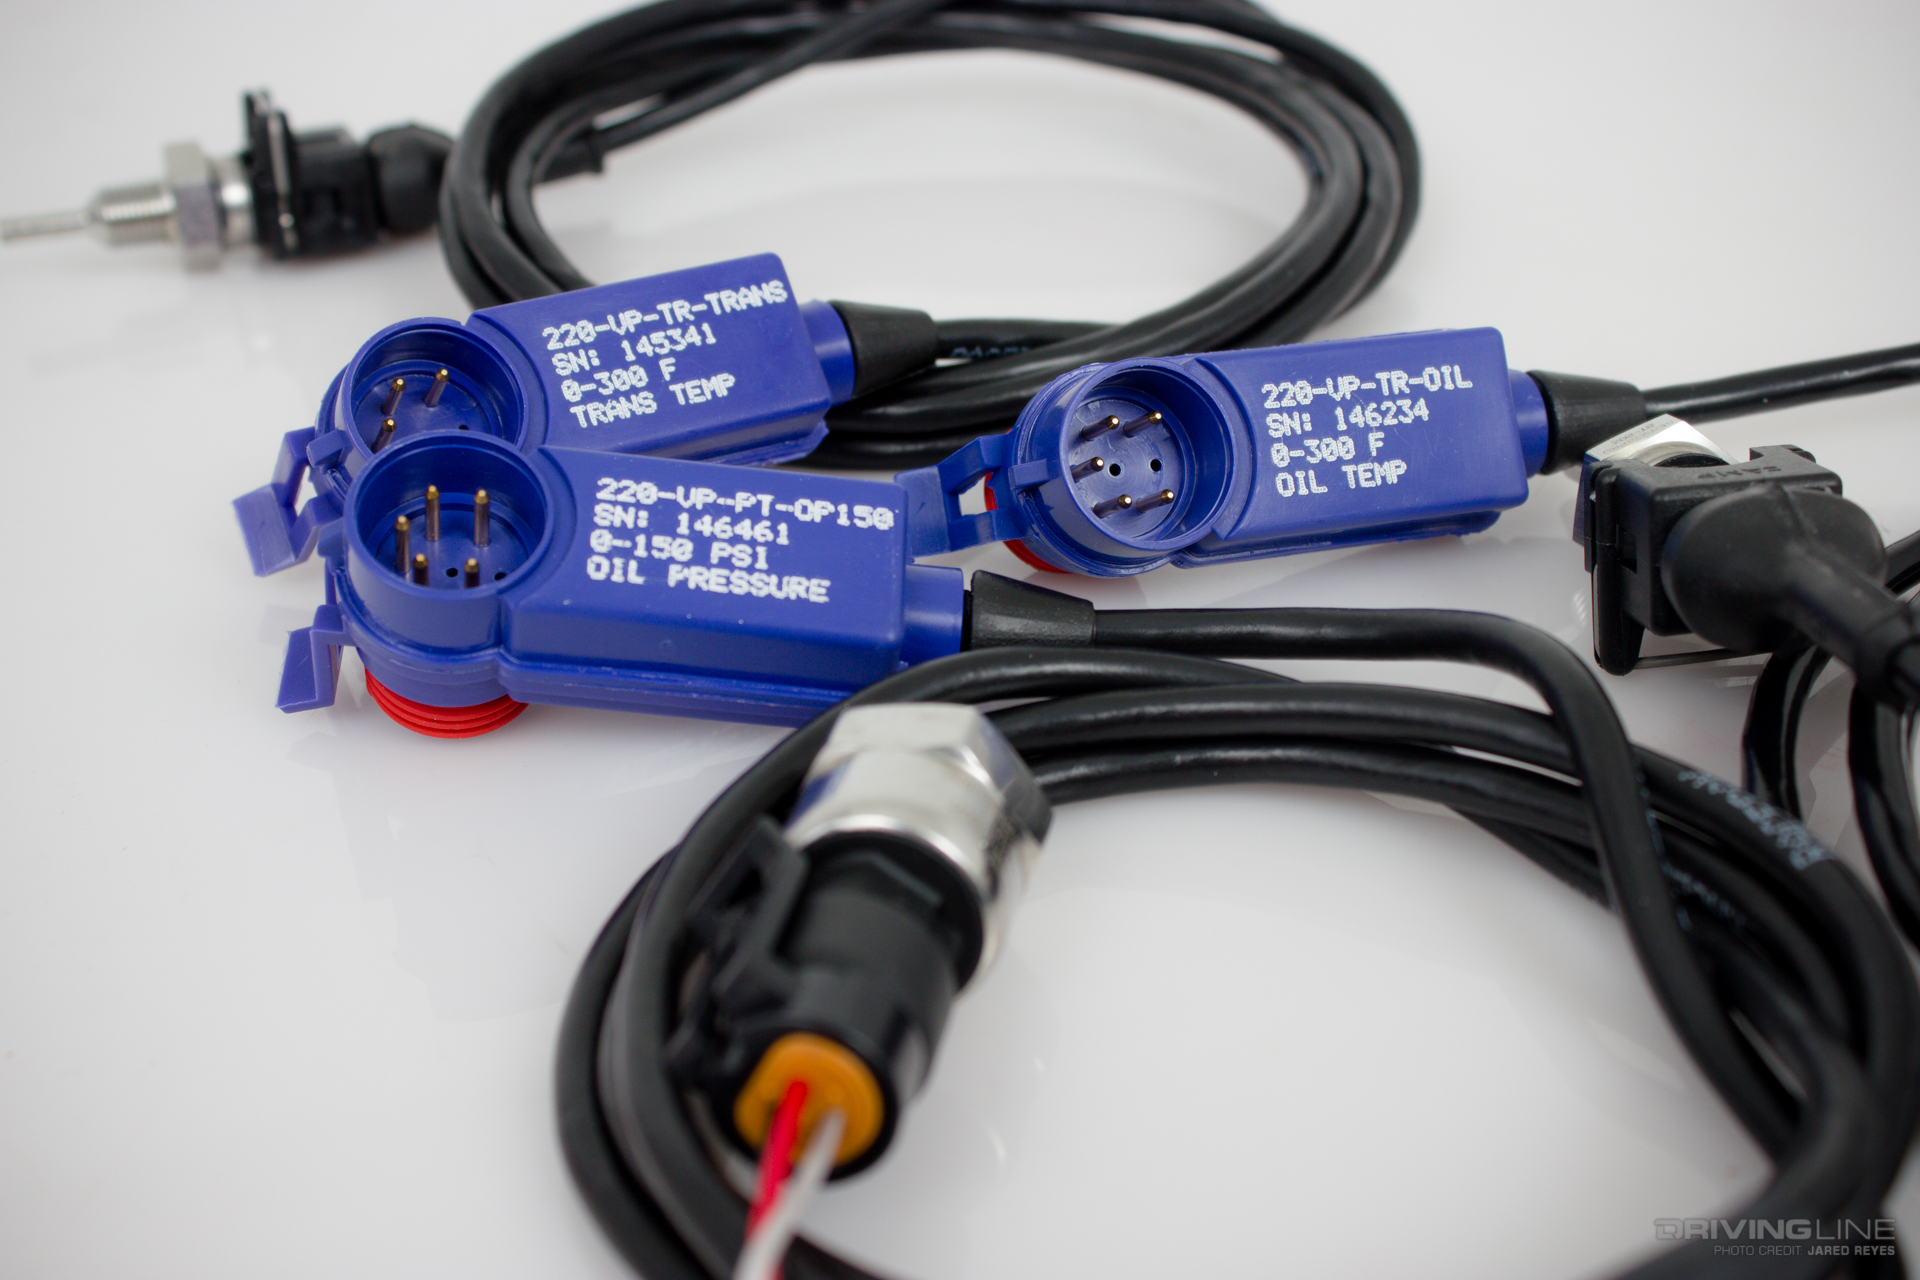
The Honda ECU does not read oil pressure, oil temperature or transmission temperature, so we are using three external sensors to monitor these readings. Once installed on the engine, the wires are routed through the firewall and plugged in to the V-net cable running from the back of the dash.
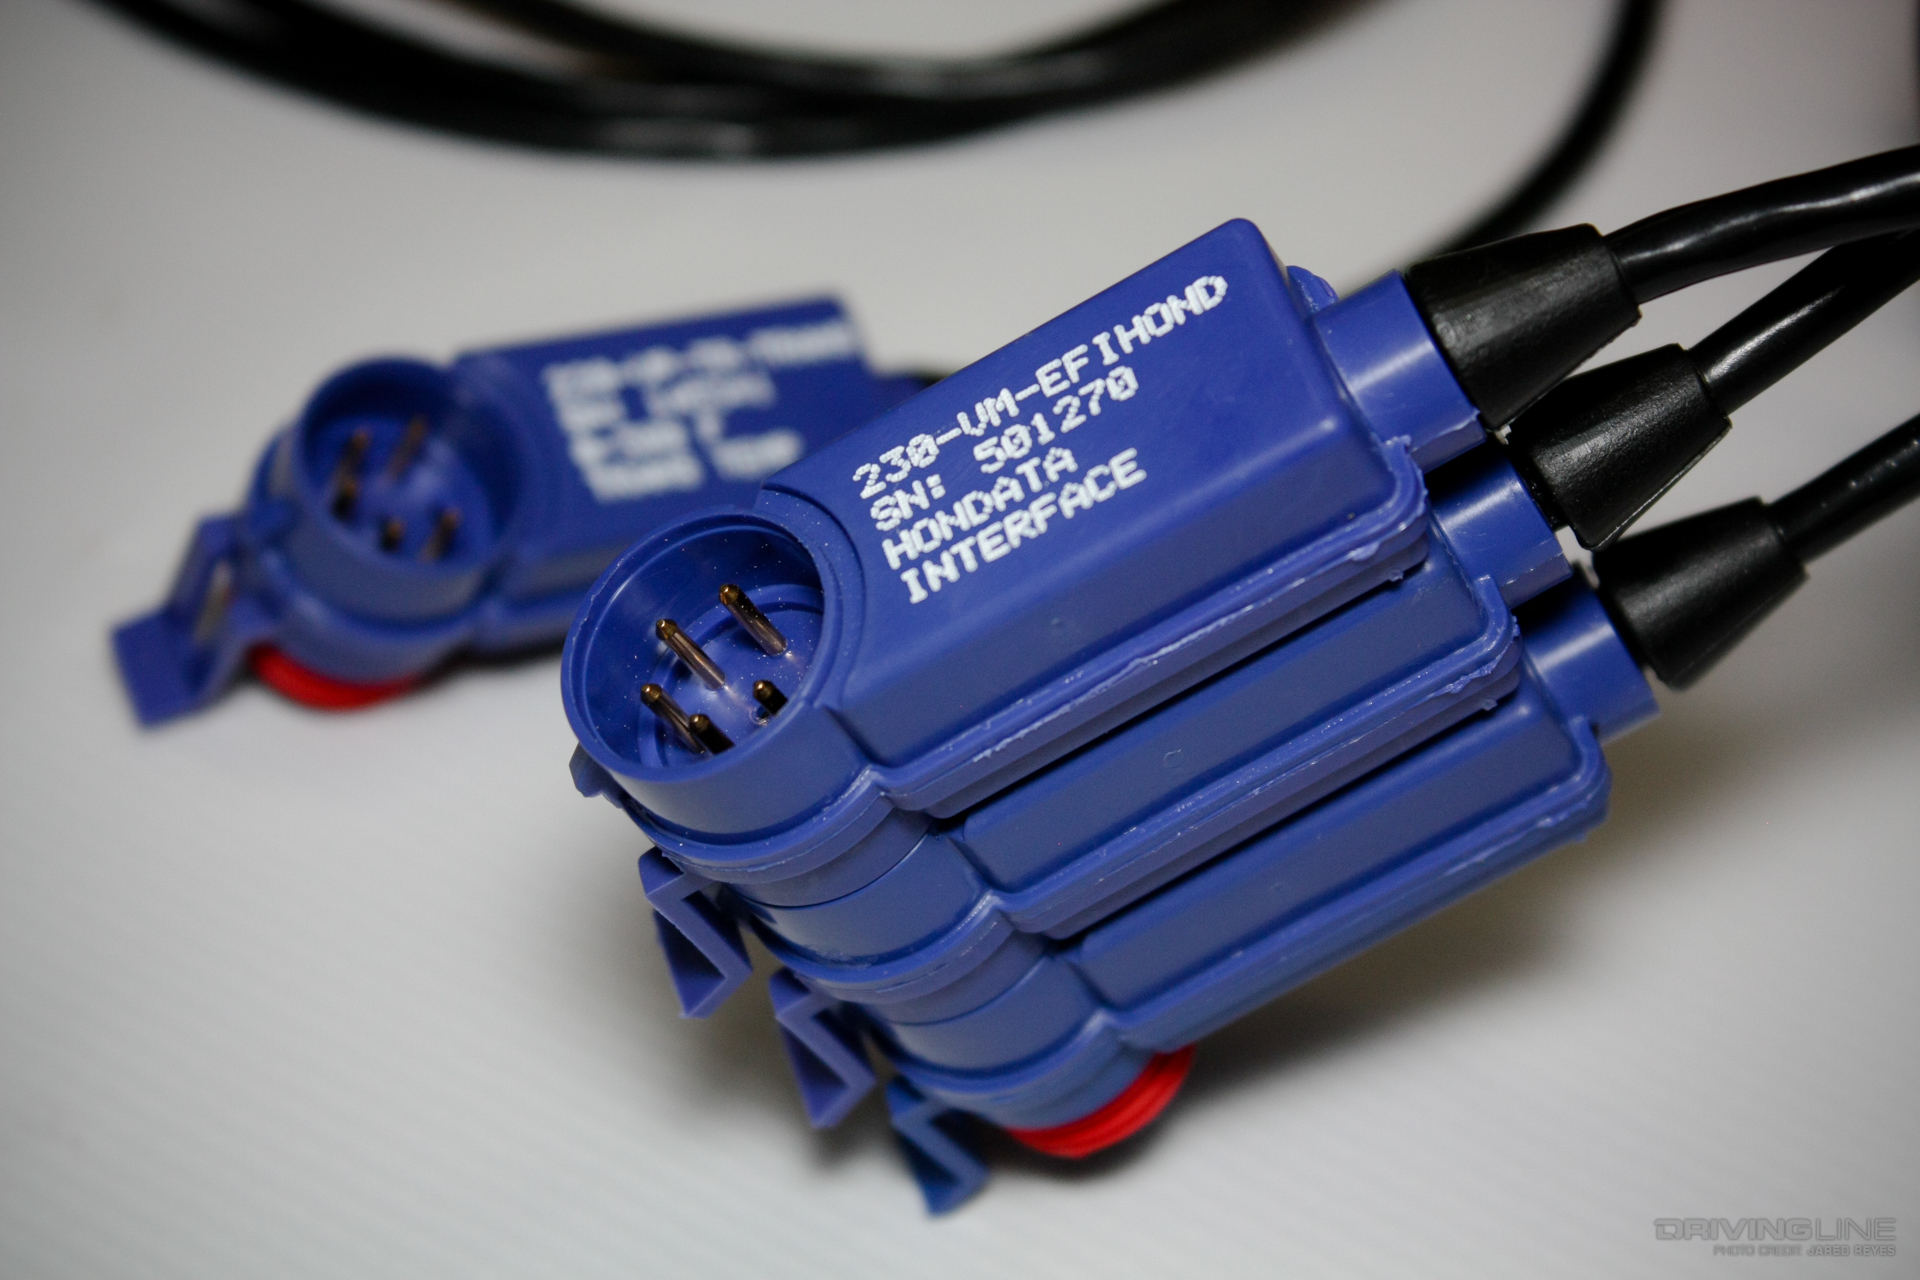
HARNESS THE POWER
From there we move to the ECU.

Once the ECU cover is removed, you will see a few small pins that the Hondata provides connectors for with the S300.

Simply connect the Racepak harness to the Hondata harness and connect the V-net plug into the others. Use the Hondata SManager software to let the S300 know you are outputting readings to the IQ3 dash.

FILL UP
Fuel level readings are always the trickiest part of installing a digital dash; this is largely due to every car having their own way of reading it. To get the most accurate readings, we installed the Racepak Universal Sensor Module (USM), which allows us to convert the ohm reading the car provides to a 0-5 volt reading that the IQ3 needs.

To install, you simply attach the signal and ground wires from the fuel sending unit to the USM. When configuring the dash, the fastest and most accurate way we recommend is to remove the fuel sending unit from the gas tank. You then read the output signal at empty and full and the Racepak software will fill in everything in between. The fuel levels will be displayed as a scale of 0-100 on the dash. It is also recommended to set a warning light on the dash to lets you know when you are getting low.
Your Car, Your Screens
In an effort to not have to toggle through screens anymore that needed, we went with a simple three-screen setup. The main screen shows only the crucial information, while page two shows all temperatures, and page three shows fuel level and the rest of the readings available through the ECU.
