 In the diesel performance world, one of the first upgrades folks usually add to their truck is an aftermarket fuel supply system (i.e. lift pump). Systems offered from companies such as FASS, AirDog, and Fuelab are ideal for both supporting more horsepower and keeping the injection pump safe (via ensuring that fuel is free of air, debris, and is steadily being delivered). The downside to these systems is that many of them utilize a draw-straw setup to pull fuel out of the top of the tank. Along with being a restriction, pulling fuel through a draw straw is harder on the lift pump itself, and essentially makes the last 1/8 to ¼ tank of fuel unusable.
For good reason, fuel tank sumps have become all the rage in the diesel industry. Due to being able to scavenge all of the fuel in the tank, they are now considered to be a must-have item on both new and existing fuel supply systems. As an added benefit, a sump allows fuel to gravity feed toward the lift pump, making this vital component’s life that much easier. Last, but not least, most sumps can be installed without having to even drop the fuel tank! Follow along as we install one of XDP’s sump kits on a steel fuel tank—a process that took us just 45 minutes.

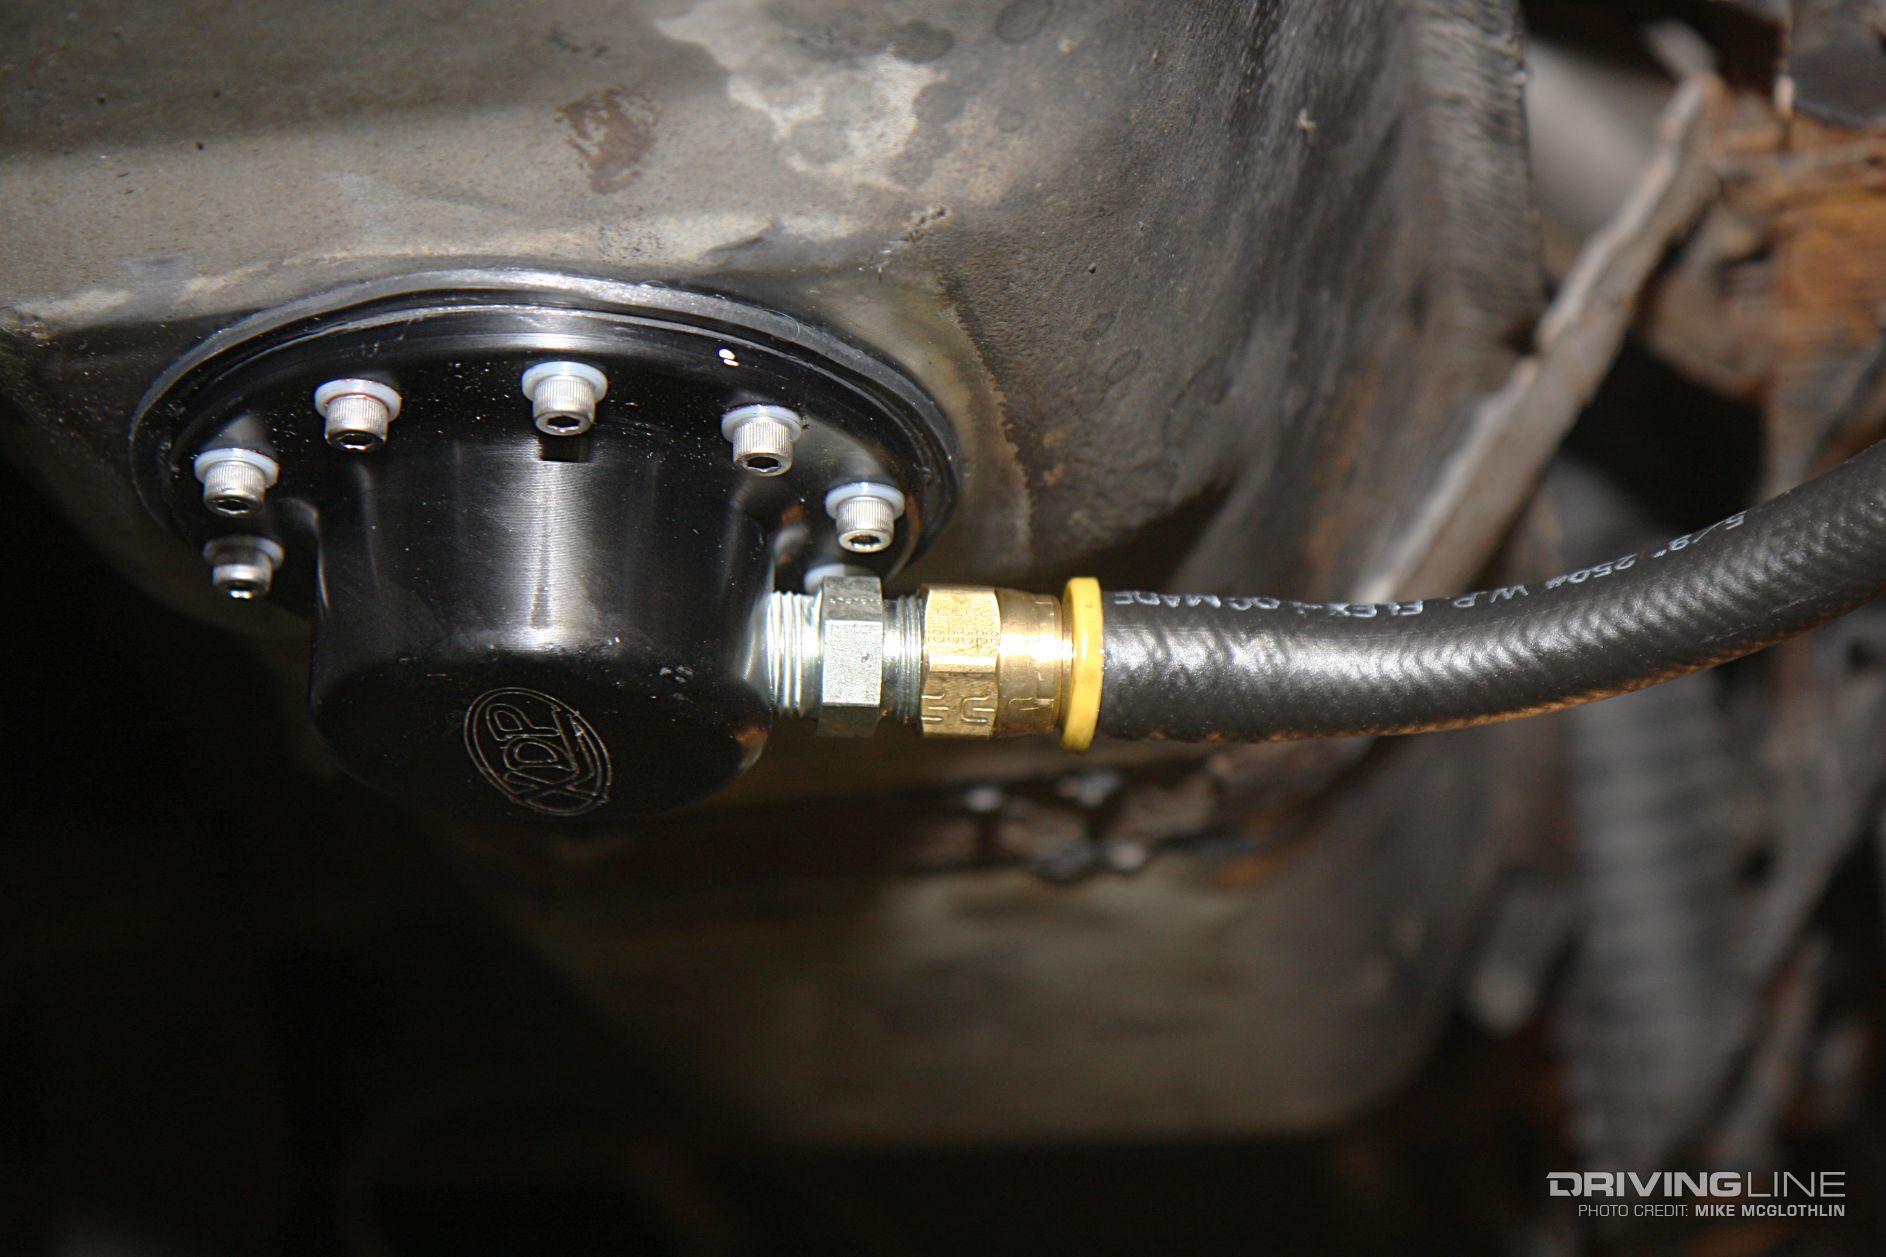
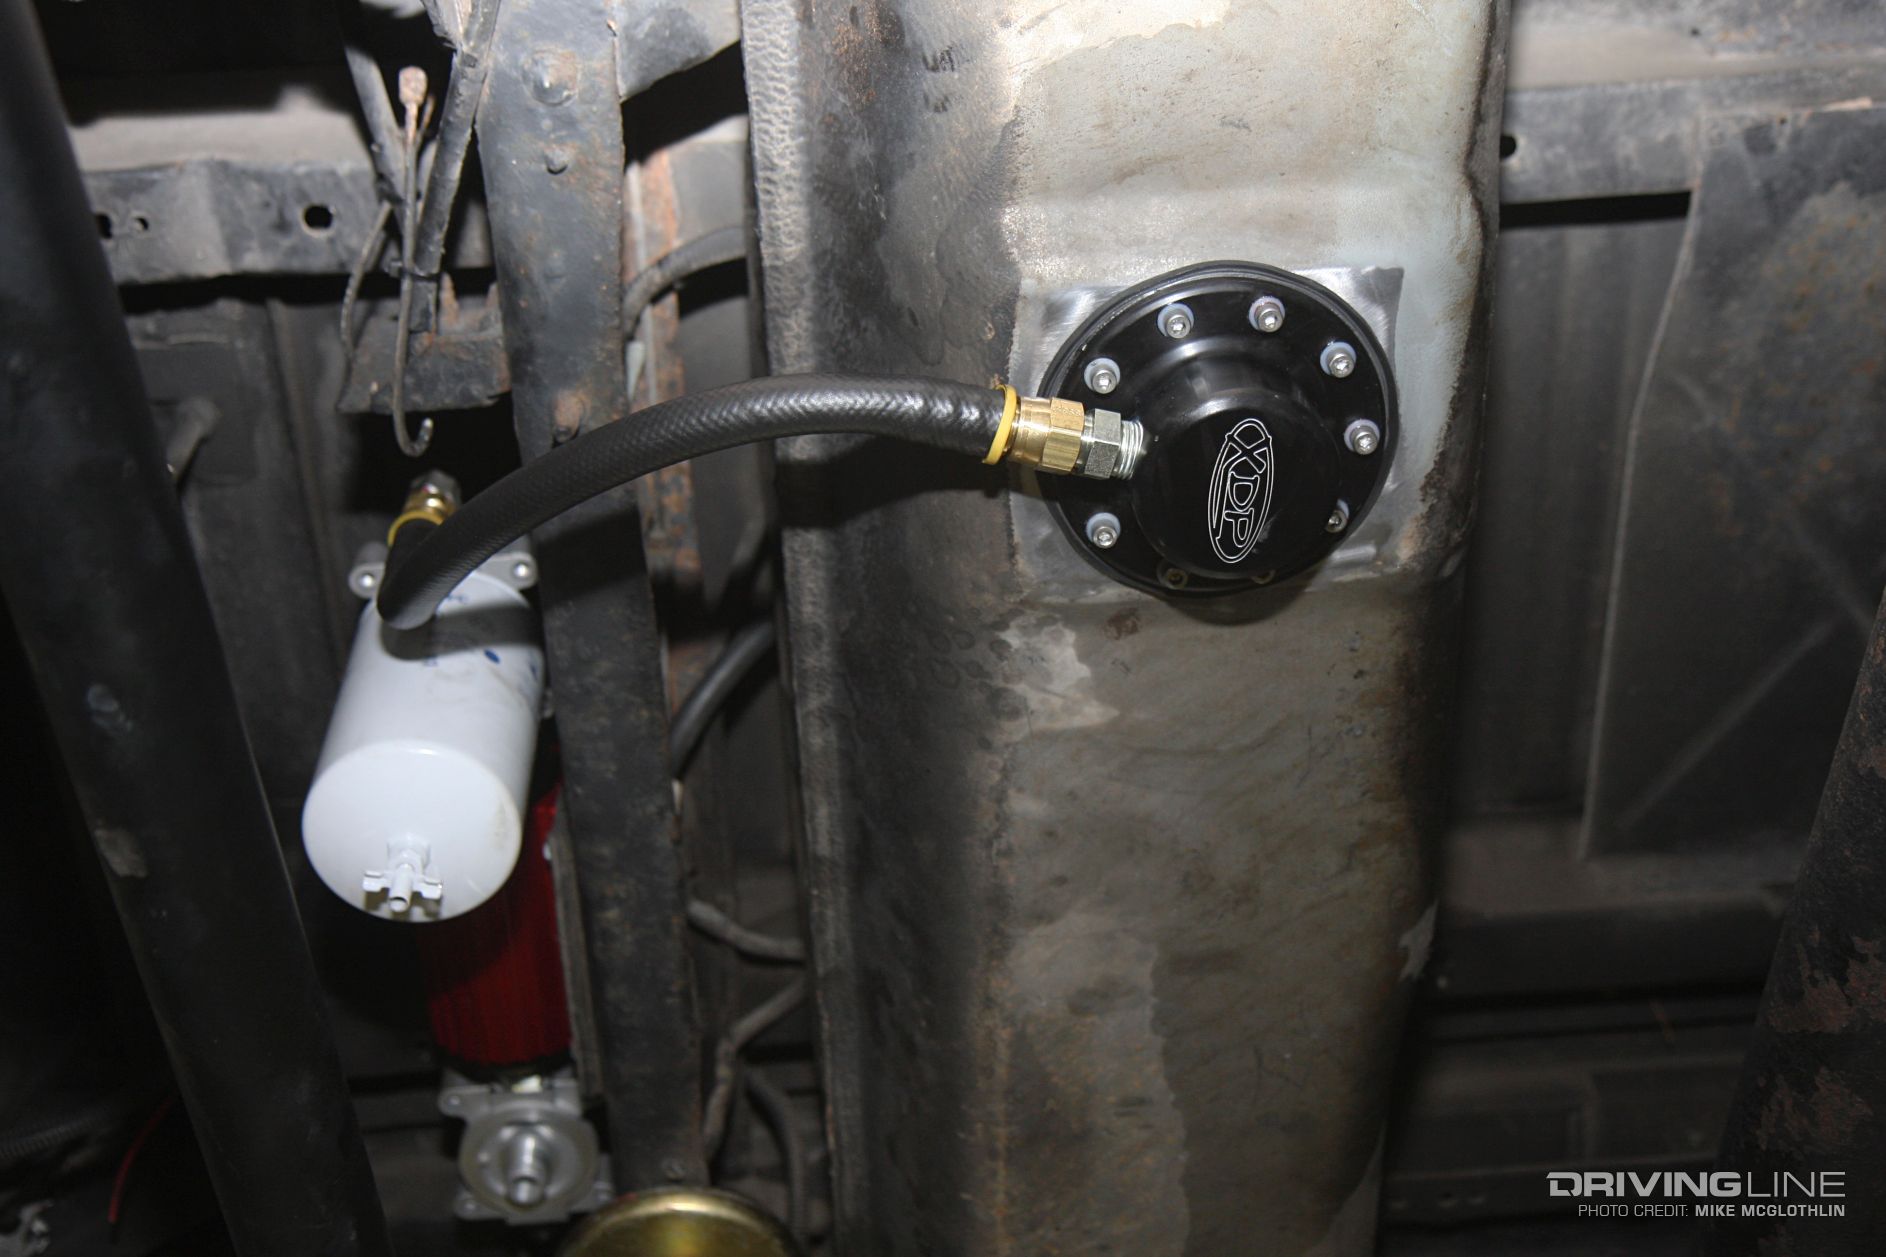
The XDP diesel fuel tank sump kit comes with everything you need to successfully install it on your truck’s stock (or aftermarket) tank. Its contents include: a black anodized sump, horseshoe shaped internal ring, 3-inch hole saw, stainless steel hardware, nylon washers, and a barbed ½-inch fuel line fitting. For just $149.95, it’s hard to go wrong with this kit.

Made from aircraft-grade T-6 billet aluminum, the XDP tank sump was designed to improve fuel volume making its way to your lift pump. It is precision CNC machined to ensure a perfect fit and features dual O-ring gaskets for the ultimate seal.

This billet aluminum horseshoe shaped ring makes it possible to install the XDP sump kit without dropping the fuel tank. It sits inside the tank, providing a mounting point for the supplied Stainless Steel bolts to fasten the sump in place.

First things first, it’s important to run your truck as low on fuel as you’re comfortable with (the remaining fuel can be drained once the pilot hole is drilled). You’ll need to mount the sump as close to the center of the tank as possible, as well as locate it in an area that encompasses a flat (dent and scratch-free) radius area of 5½-inches. Once you locate the ideal spot, simply outline the sump, mark the center, and then drill the pilot hole. Note: make sure the pilot hole being drilled is smaller or no bigger than the same size diameter of the pilot bit on the hole saw.

Using the supplied 3-inch hole saw, you can make the circular cut you need for the center of the sump. After that, test fitting the sump and marking the fastener mounting holes is in order. A ¼-inch bit is required to drill the bolt holes. A dye grinder or similar tool should be used to smooth the rough edges left over after the cuts, and to ensure the mounting surface remains as flat as possible. At this point, it’s important to make sure to get all leftover debris out of the tank before going any further with the install. With the internal horseshoe in place, each bolt receives a nylon sealing washer, a dab of Loctite, and is threaded into its respective hole in the sump. A generous amount of fuel-safe silicone should be added to the mounting surface of the sump for added sealing (in addition to the dual O-ring seal of the sump itself). When it’s time for the final install of the sump, orientate the fuel outlet fitting in the optimum position to work with your specific fuel system’s plumbing.

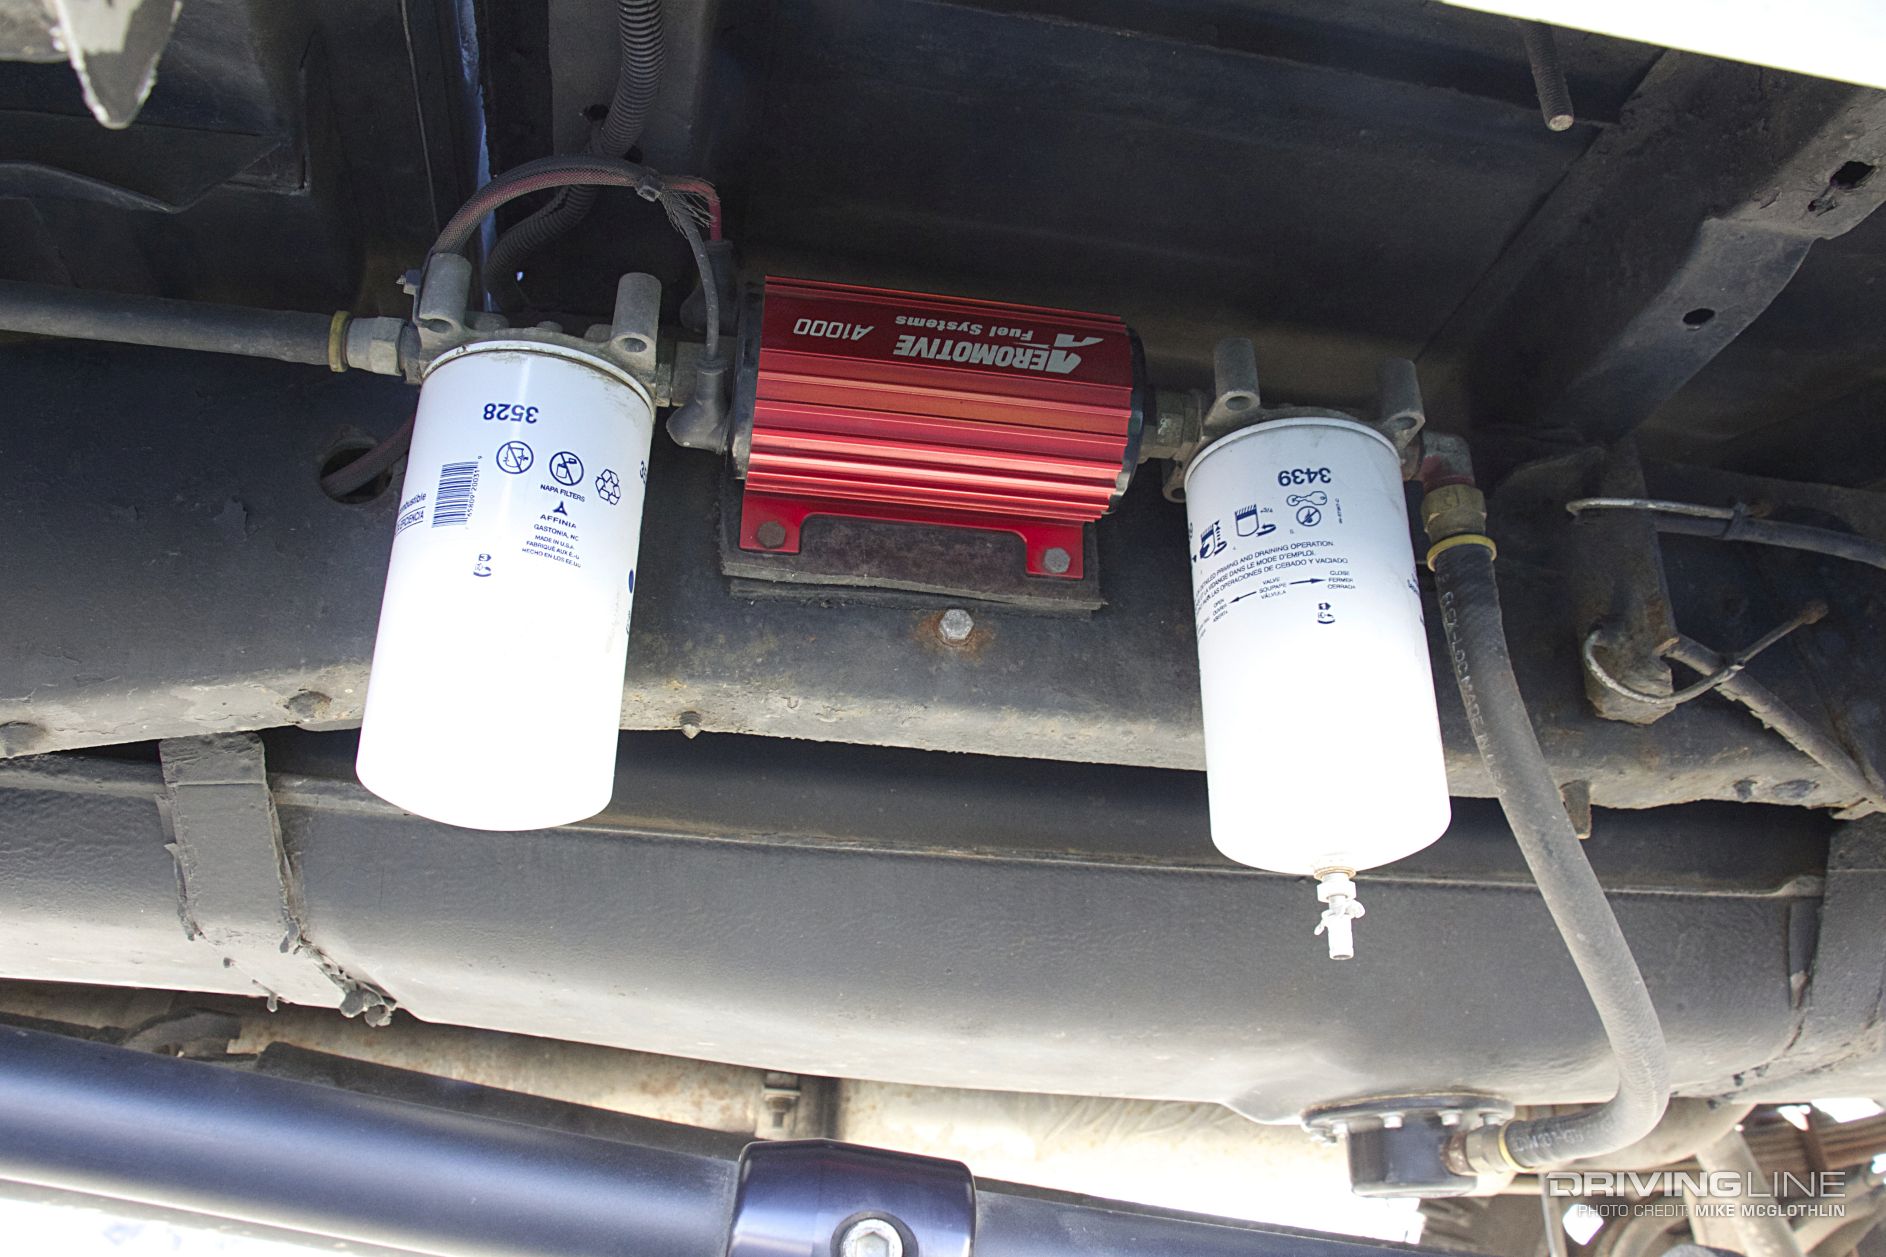
While most popular applications (FASS, AirDog, or Fuelab) will utilize the supplied ½-inch barb fitting that comes standard with the XDP sump, in our case we were utilizing an A1000 lift pump that calls for a larger, 5/8-inch diameter fuel supply line. This simple change to a ½-inch NPT x -10 AN barb fitting (vs. the supplied ½-inch NPT x ½-inch barb) only ran us an extra $4.00.

Once the silicone used during the install dries, your tank sump kit is complete, and ready for years of trouble free use. In our particular case, we weren’t quite done with our new fuel system install, so the sump was allowed to cure overnight while we pressed on with the rest of the system. Later, we taped off around the sump and coated the tank in flat black paint for a nice, clean, finished look.

Our XDP kit works perfect without our Aeromotive pump and filter system.