For years the traditional white logos found on larger profile tires have been a point of customization in the aftermarket car scene. Tire stencils allow the user to draw on the logo or name of the tire manufacturer (or any other lettering) along the sidewall of the tire using white or colored paint. As more and more people started using stencils and carrying paint for touching up the lettering, a new product emerged: the tire sticker. We gave it a shot to see how it works.

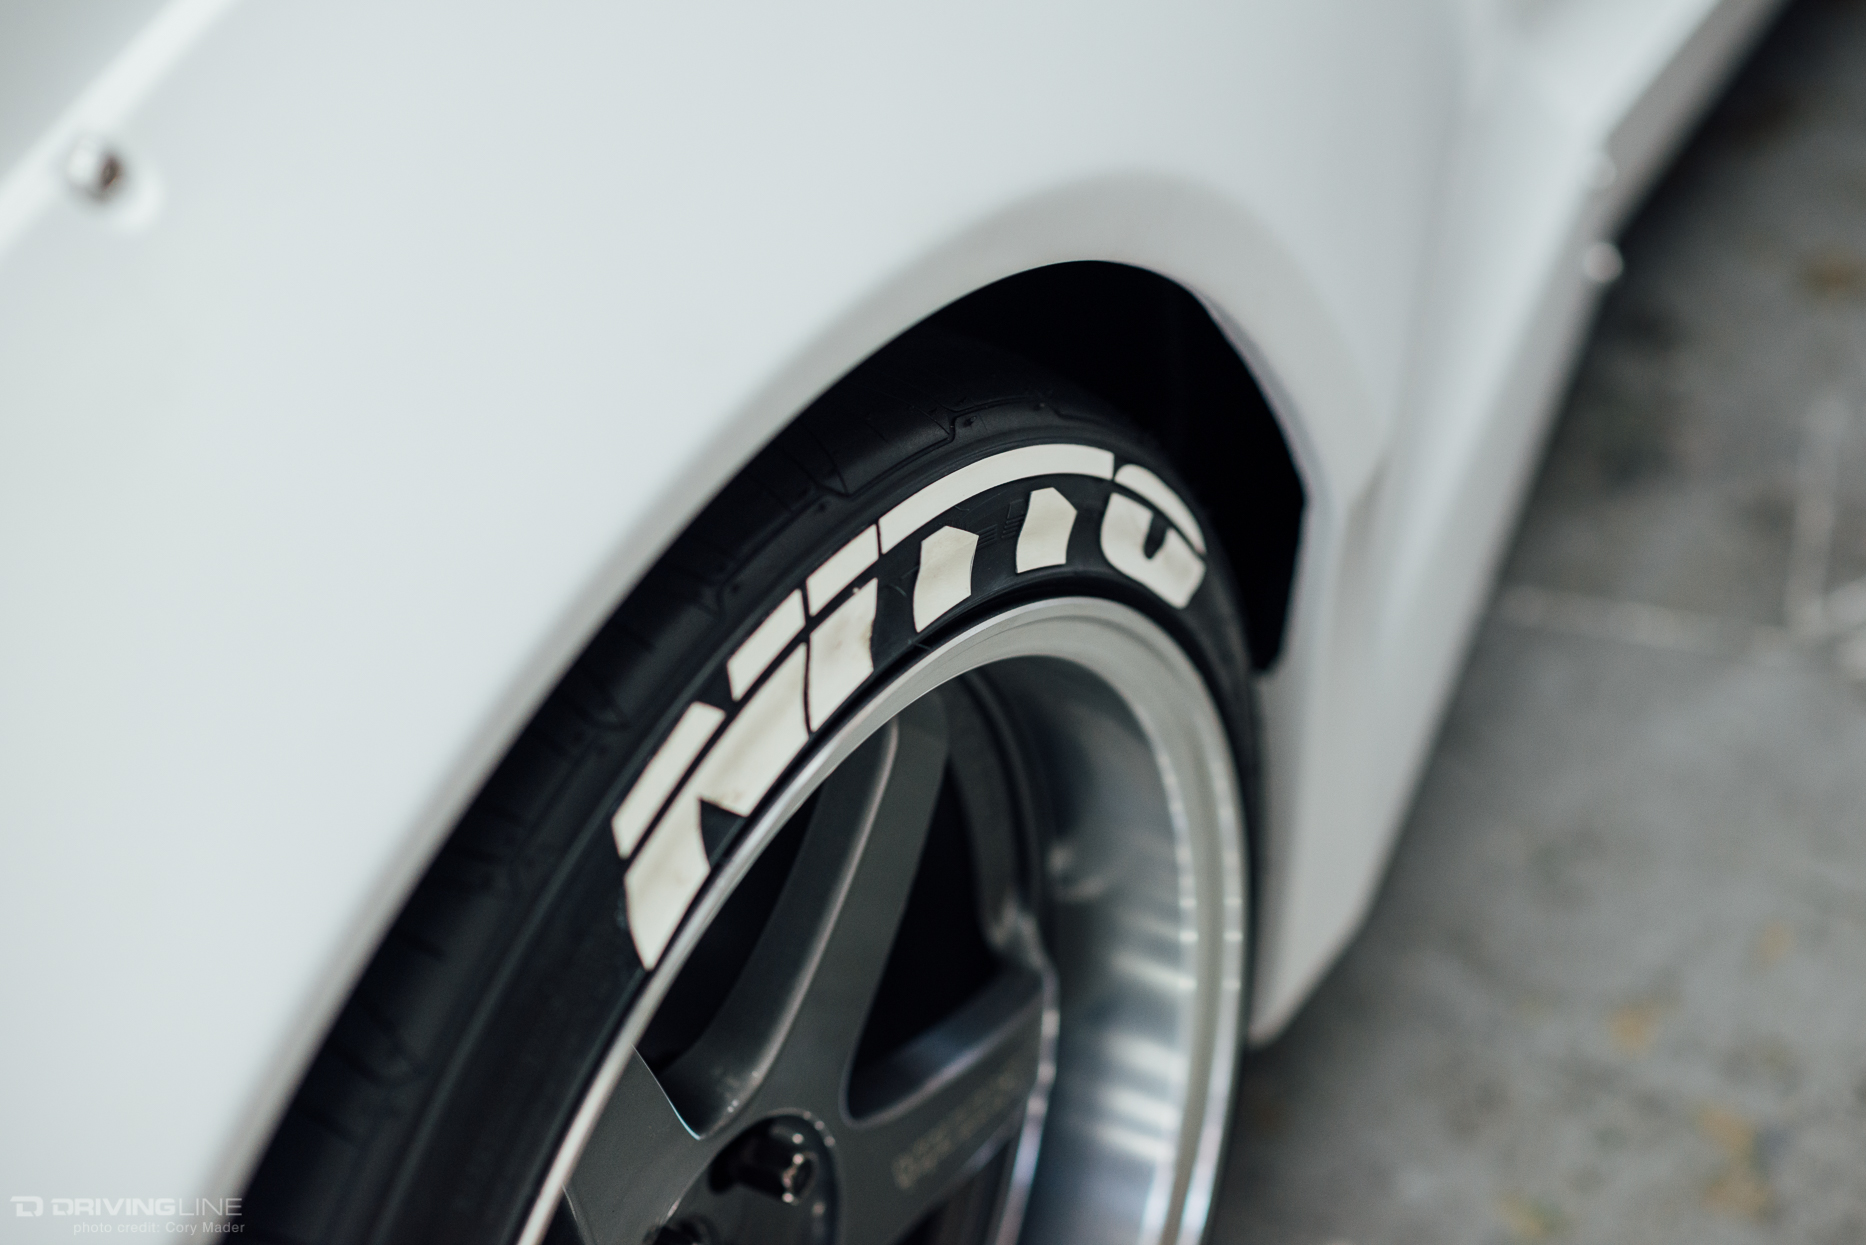
The tire sticker is a set of decals made of rubber that adhere to the sidewall of the tire using a supplied bottle of adhesive. Unlike traditional tire stencils, the decals are fully removable and have no chance of overspray or dripping paint. Spoiler alert: the results are fantastic. So how did we do it?

First up, you’ll need some supplies. It’s highly recommended you collect everything before starting so you can move through the steps one after another on each tire. You will need:
- The tire stickers
- Decal adhesive
- A shop rag
- Fine sandpaper
- Brake cleaner
- Acetone
- Household degreaser (we used dish soap and water in a spray bottle)
Step 1: Get that grime off.

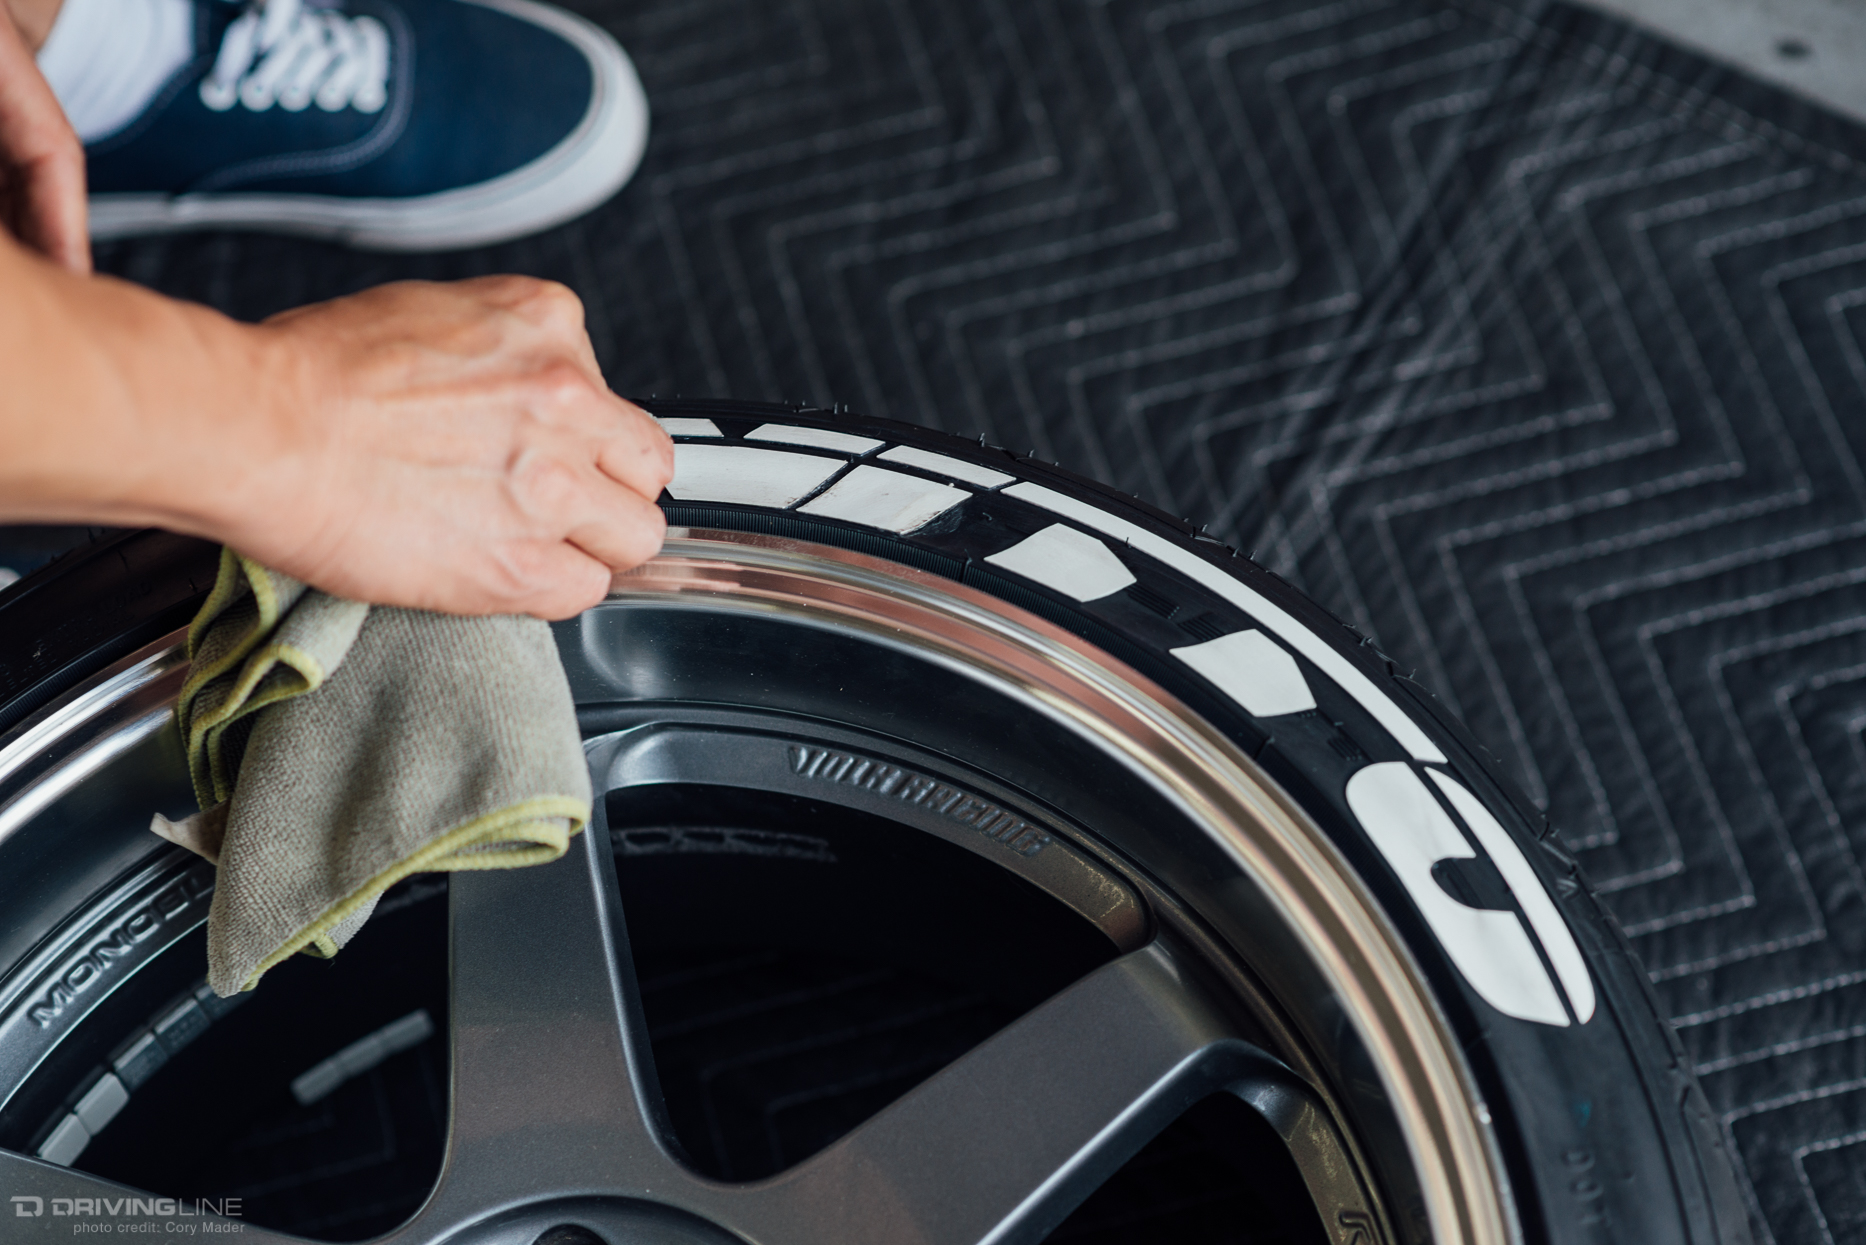
You’ll want to clean your tires no matter how new they may be. A common household degreaser and a cloth is good enough to get most of the surface grime off.
Step 2: Smooth it out.

Using a fine grit of sandpaper, rough up the surface to allow the decals to adhere as well as possible. Use acetone to remove any leftover grease and repeat as necessary until there is no more surface grease. This is important, as you’ll want the decal to stick as well as possible so they don’t fly off while driving.
Step 3: Make it stick.

Apply the supplied adhesive to the back of the decal and spread it to the edges of the lettering using the tip of the nozzle. Completely covering the back of the decal with a thin layer of adhesive will ensure the best results.
Step 4: Apply pressure.

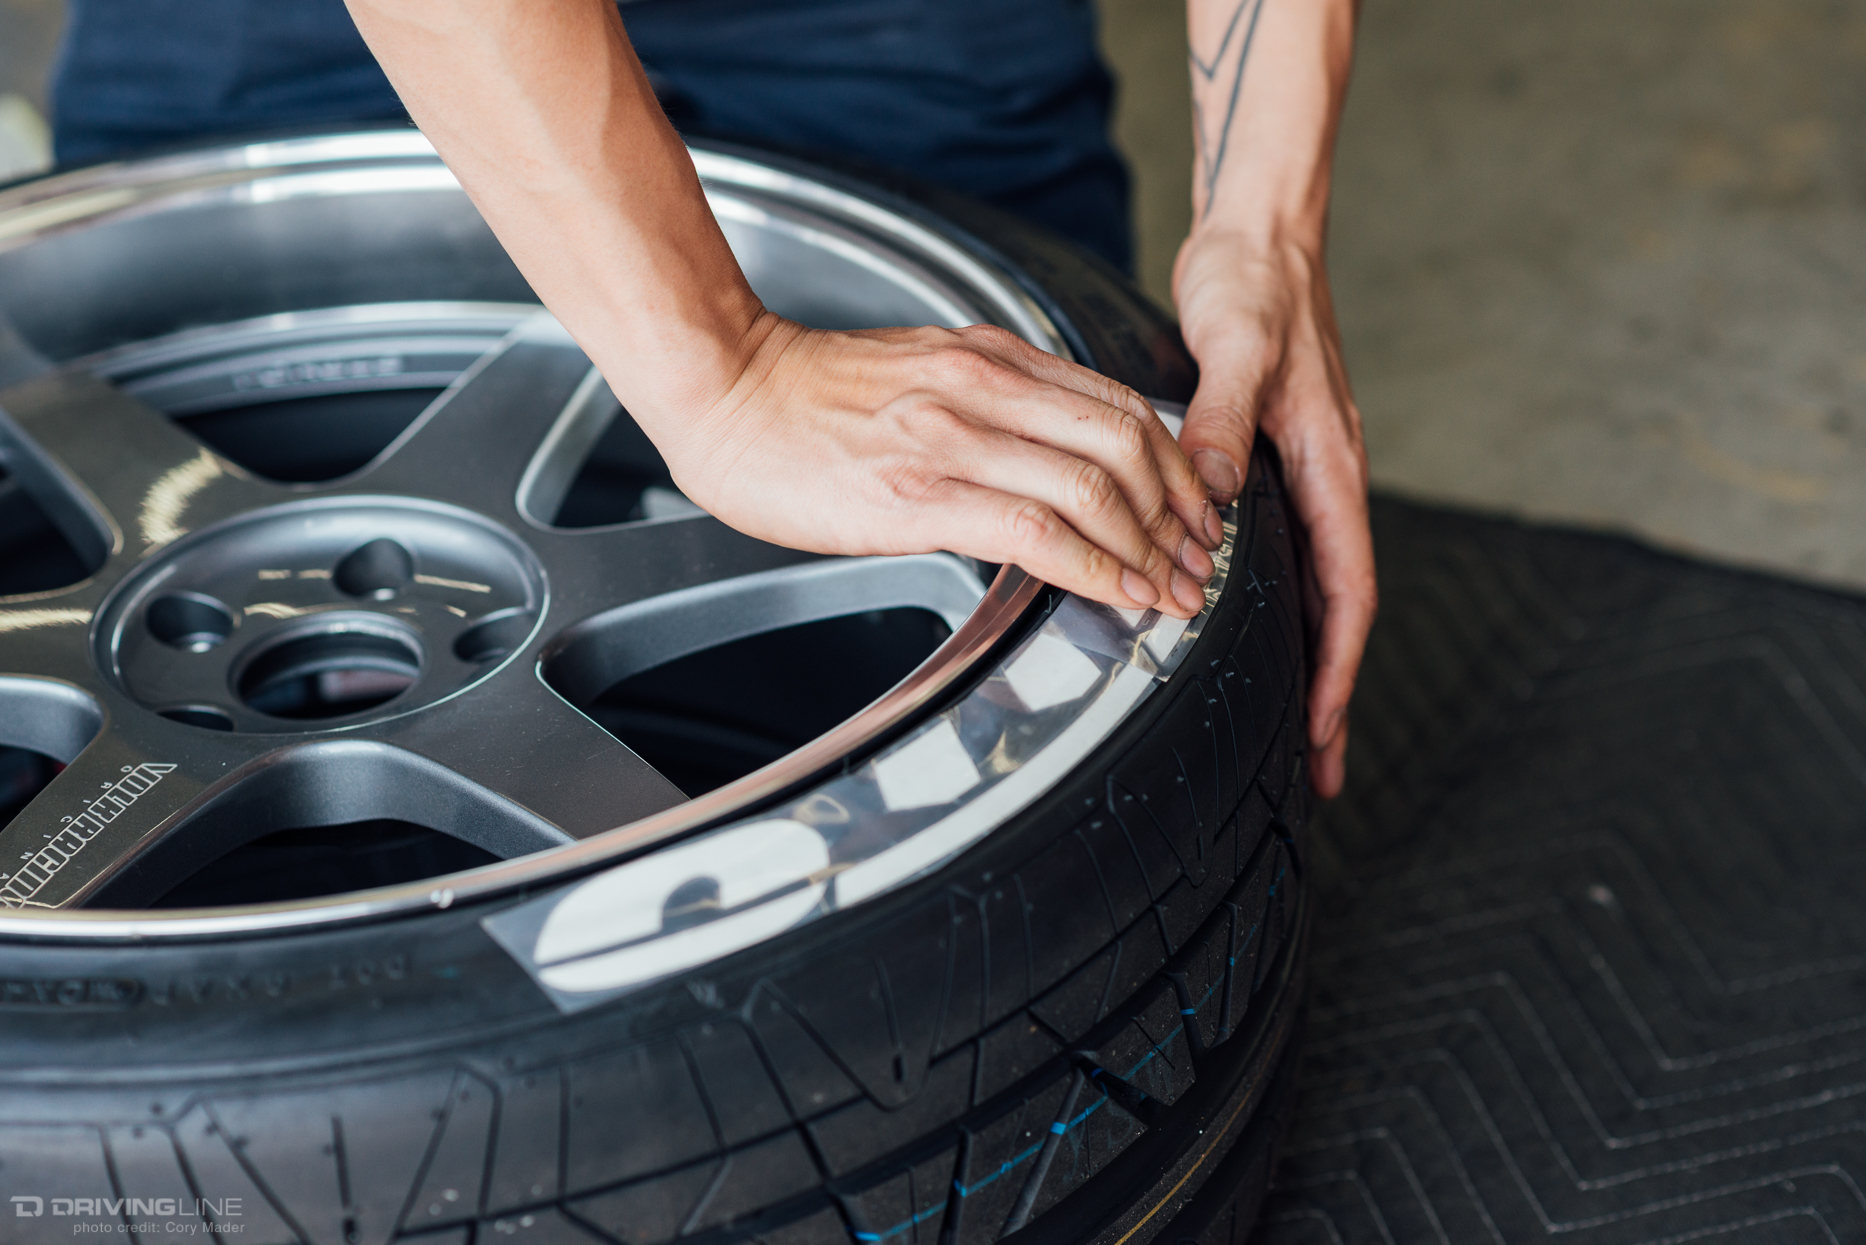
Line up the decal with the sidewall and press firmly. Each piece of the decal (letter, stripe, number, etc.) should get a good 20-30 seconds of pressure from your fingertips. Again, time invested in the installation will be rewarded.
Step 5: Let it sit.

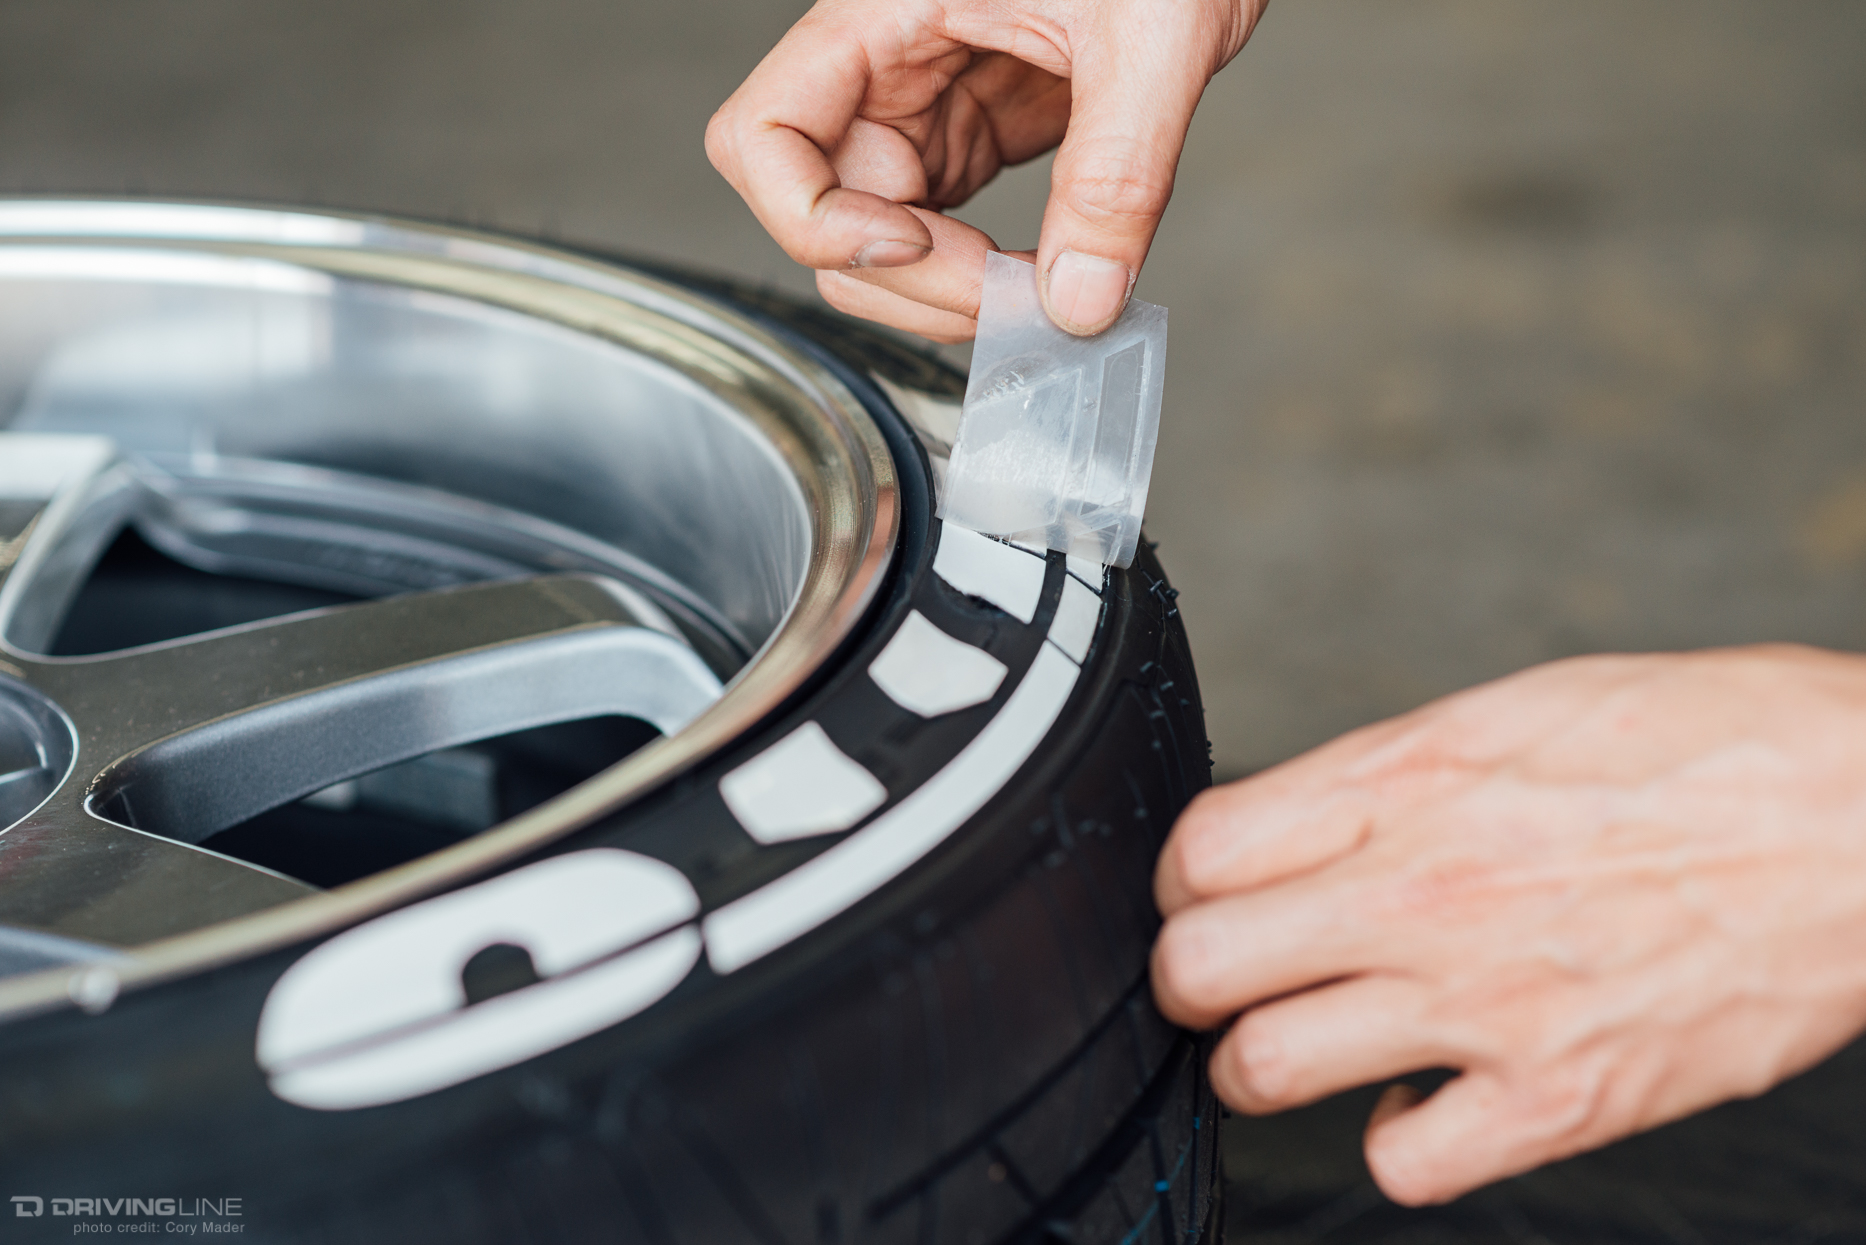
Allow the decals to sit for 5 minutes and remove the transfer film. It will be tempting to immediately drive off, but for maximum adhesion it is recommended to allow the decals to dry for an hour before washing them or driving with them installed.

There you have it! A little time and effort is rewarded with yet another custom touch on your car. If we've got you interested, order your custom set at TireStickers.com!
Special thanks to the guys at Auto Tuned for lending a hand on this installation.
